Are you looking to establish an online presence but lack coding knowledge?
WordPress offers a user-friendly solution with its robust website builder and intuitive drag-and-drop functionality, enabling you to create a website from scratch without writing a single line of code.
In this guide, you will learn the process step by step, from choosing a host to making your site unique. Let's start!
When you're thinking about making your own website, there are many ways to do it. You can start from scratch with code, use a service from a hosting company, or try a website builder. These days, website builders are popular because they let you create a website all on your own, even if you're not a tech expert.
Think of a website builder as a tool that helps you manage what goes on your website without needing to know how to code. It's kind of like posting on social media – easy and familiar. And when it comes to website builders, one name stands out: WordPress.
So, why is WordPress so popular? Here's why:
-
It's Flexible: WordPress lets you change and customize your website however you want because it's open-source. That means it's like an open book – you can read and edit it as you please.
-
No Coding Needed: You don't need to be a coding whiz to use WordPress. It's designed to be super easy to use, so you can build your website without touching a single line of code.
-
It's Free: The best part? WordPress won't cost you a dime. You can create your website for free, which is great if you're on a budget.
-
Lots of Add-Ons: With WordPress, you can add extra features to your website using plugins. There's a plugin for almost everything you can think of, from managing your blog to boosting your site's design.
-
Good for SEO: Want your website to show up in search engines like Google? WordPress is your friend. It's designed to help your site climb the ranks and get noticed online.
In short, WordPress is the go-to choice for building a website because it's easy, versatile, and packed with features. Now, let's dive into how you can create your own WordPress website in just a few minutes.
Step: 1 — Choose a web host
To get started, you'll need a place to store your website's files and make them accessible online. This is where a web host comes in. Think of it like renting space on the internet for your website. There are many web hosting companies out there, but here are three popular options:
-
Bluehost
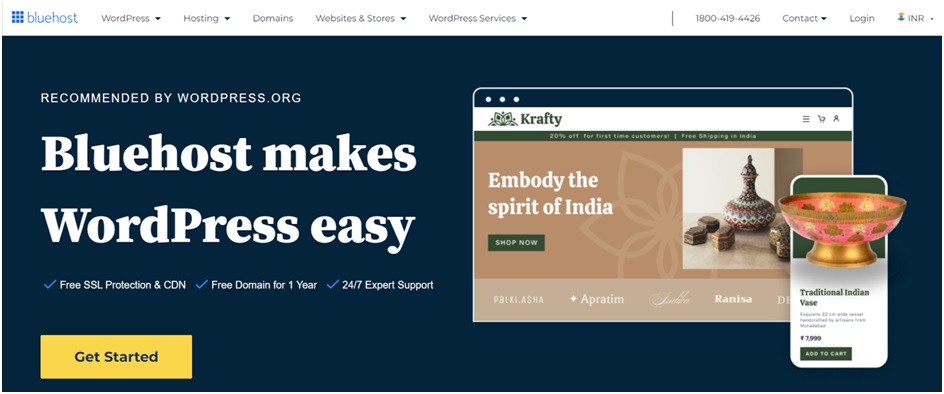
BlueHost is a popular web host known for its reliability and easy-to-use features. It's great for WordPress websites because it works seamlessly with the platform. With BlueHost, you get reliable uptime, a user-friendly interface, and helpful customer support is available 24/7. Plus, it's affordable, so you can get started within your budget. If you're looking for a hassle-free hosting solution, BlueHost is a solid choice.
-
Oxtrys

Oxtrys is a top-notch web hosting provider known for its smart solutions that adapt to your website's changing needs. They keep things simple with easy-to-use interfaces and reliable performance so you can focus on what matters most – your content. Plus, their competitive prices make quality hosting affordable for everyone.
But that's not all. Oxtrys also offers Virtual Private Server (VPS) solutions at prices you can't beat. VPS hosting gives you more control and flexibility than regular hosting plans. It's perfect for those who need a little extra power for their websites.
And when it comes to support, Oxtrys has your back around the clock. Their team is always ready to help with any questions or issues you might have, ensuring a smooth experience every step of the way.
-
Hostinger

Hostinger is a well-regarded web hosting provider known for its affordability and user-friendly setup. It's an excellent option for beginners and experienced users alike. With Hostinger, you get reliable hosting, easy-to-use features, and 24/7 customer support. Plus, their pricing plans are budget-friendly, making it accessible to all.
Now that you have chosen a host, it's time to find a unique domain.
Step: 2 — Register a domain name
Your domain name is your website's address on the internet – it's how people find you online. Here's how to get yours:
-
Choose a Name: Think of a name that's easy to remember and relates to your website.
-
Check Availability: Use a registrar like BlueHost or GoDaddy to see if your name is available.
-
Register your Name: If it's available, sign up and pay to secure it.
-
Choose Length: Decide how many years you want to register it for.
-
Complete Registration: Review and confirm your details, then you're done!
Now, you own your website's name and are ready to build your online presence.
Step: 3 — Set up WordPress – One click installation
Setting up WordPress is easy with one-click installation. Here's how:
-
Log in to Your Hosting Account: Go to your hosting provider's website and log in to your account.
-
Navigate to the Control Panel: Look for the control panel, often called cPanel, in your hosting account dashboard.
-
Find the WordPress Installer: In cPanel, search for the WordPress installer tool. It's usually located in the "Website" or "Software" section.
-
Click on WordPress Installer: Once you find it, click on the WordPress installer tool to start the installation process.
-
Choose Your Domain: Select the domain name where you want to install WordPress.
-
Customize Settings (Optional): You can customize your installation settings, such as your website's title and administrator username and password.
-
Click Install: After customizing, click the "Install" button to begin the installation process.
-
Wait for Installation to Complete: The installer will set up WordPress on your chosen domain. This process may take a few minutes.
-
Access Your WordPress Dashboard: You'll receive a confirmation message once the installation is complete. You can then log in to your WordPress dashboard using the administrator credentials you set during the installation.
With a one-click installation, you can have WordPress up and running on your website in no time, allowing you to focus on creating content and customizing your site to your liking.
Step: 4 — Explore WordPress
WordPress offers a user-friendly dashboard and powerful features to help you manage your website efficiently. Here's a brief overview:
-
Dashboard
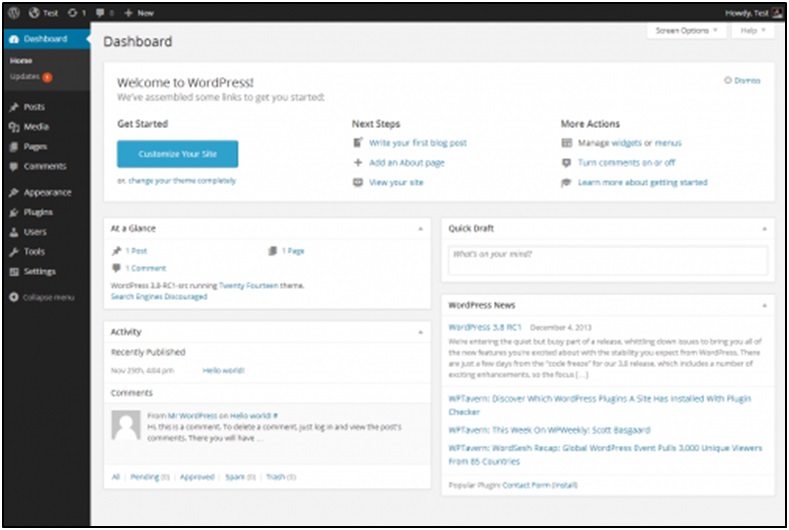
The dashboard is your website's control center, where you can access all the essential tools and settings. From here, you can monitor site activity, create new content, and customize your website's appearance.
-
Posts
In the post section, you can upload your articles. They show up on your site's main page in chronological order. You can create, edit, and publish posts directly from the dashboard. Good thing is, the majority of things are pre-set up for you, so just write and hit publish.
-
Pages

These are for permanent content, like your website page. They don't change often. Common examples include the About page, Contact page, and Privacy Policy page. Pages are useful for displaying information that doesn't change frequently.
-
Plugins
Plugins are add-ons for your WordPress site to extend the site’s functionality. Thousands of plugins are available, ranging from SEO tools, security enhancements to e-commerce solutions, etc. You can install and activate plugins to add new features to your website.
-
Customization
Change how your site looks with themes, colors, and fonts. You can also add widgets for more features. You can choose from various themes to change your site's look, customize colors and fonts, and add widgets to your sidebar or footer.
Step: 5 — Choose A Theme Design
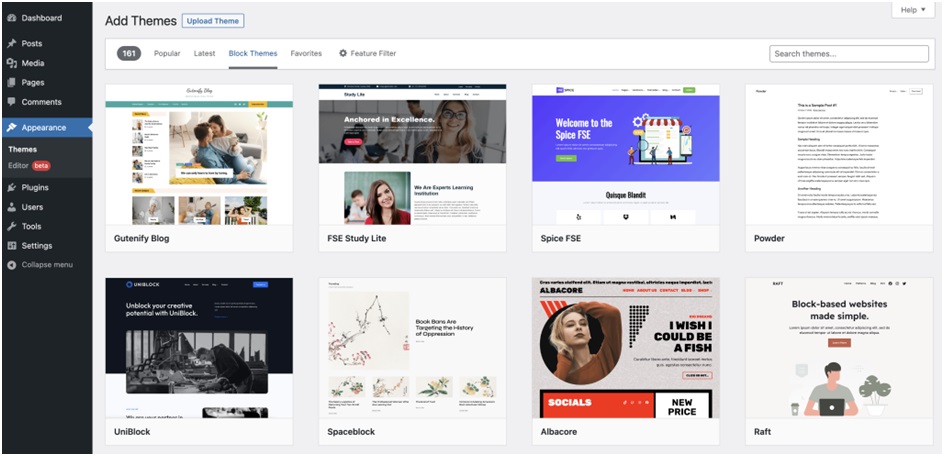
Now it's time to add a theme. Here’s how you can do it.
-
Explore Options: Look through the themes available in WordPress or online marketplaces. Find one with the features and layout you like.
-
Check Responsiveness: Make sure the theme works well on different devices. A responsive design ensures your site looks good on phones, tablets, and computers. Take time to pick a theme that matches your vision and provides the flexibility you need to create your dream website.
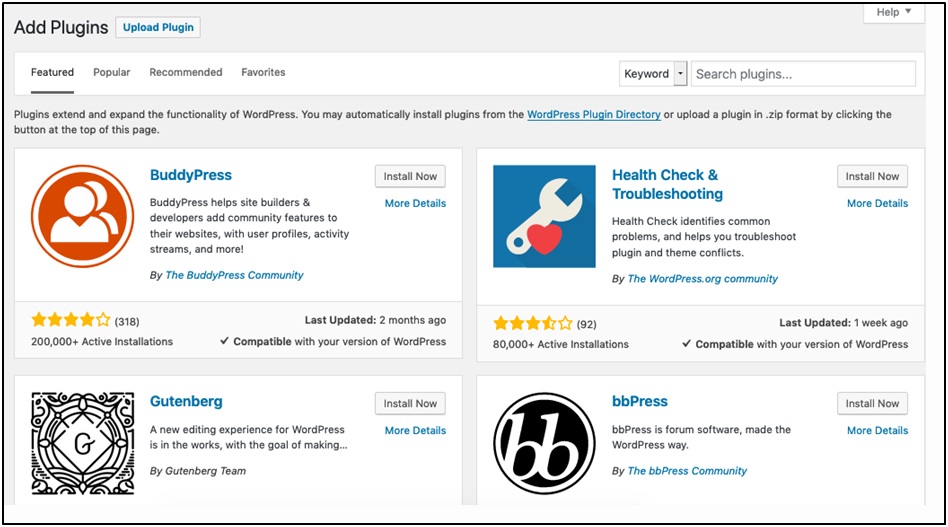
Step: 6 — Install required Add-Ons
Enhance your website with additional features and functionalities by installing plugins. Here's how:
-
Search Plugins: Browse through WordPress to find plugins that fulfill specific needs, such as improving SEO, adding contact forms, or enhancing security.
-
Install and Activate: Once you've found the right plugin, click to install it, and then activate it to start using its features.
Adding these useful tools makes your website more dynamic and better suited to meet your visitors' needs.
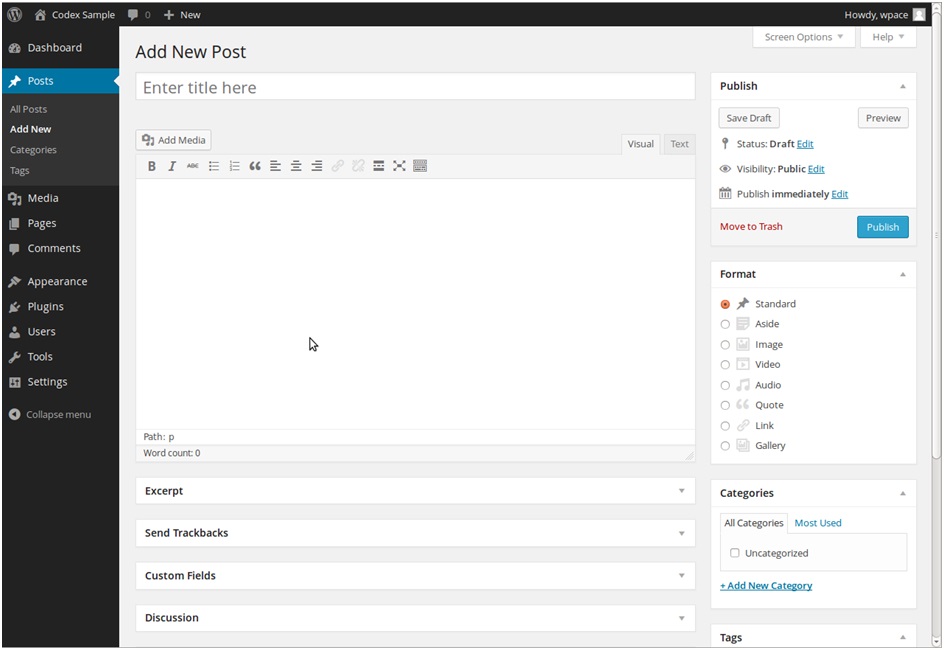
Step: 7 — Publish Content
Now that your website is ready, it's time to share your writing with the world. First, log in to your WordPress dashboard and click "Posts." Click on "Add New" to start writing. Give your post an exciting title, and write your article using the tools provided. Make it look nice by using headings, adding pictures, and organizing your text.
Once you're done, choose categories to help people find your post, and add tags to make it easier to search for. Before you make your post public, have a look at how it will appear on your website by clicking "Preview." If everything looks good, click "Publish."
After you publish your post, share it on social media to let more people know about it. Keep writing and sharing good content to keep your readers interested and coming back for more.
Creating your own website with WordPress is a straightforward and an easy process. With some practice, you can quickly get hands on with WordPress. With reliable hosting providers like Oxytrs and the powerful features of WordPress, building your online presence is easier than you might have thought. Get started today and watch your website run smoothly with Oxytrs at your side.